
The complete guide
How To Choose And Fit A Cat Safety Net
The problem with balconies and open windows
Cats do not read height the way we do. A railing that reads as a barrier to a person is just a narrow ledge to a cat, and a tilted window is a gap worth investigating. Most owners of indoor cats in apartments end up in the same spot, wanting to open the door for fresh air but not quite trusting what happens next.
The usual fixes are not great. Keeping the door shut means your cat spends its life looking through glass. Supervising every outing works until the day you are on a call or the kettle boils. And a lot of people try cheap garden mesh first, which looks fine for a month and then shows a chewed corner.
A proper cat safety net is the boring, permanent answer. It closes the opening, it holds up to a cat testing it, and once it is in you mostly stop thinking about it.
How the net works
The idea is simple. You stretch mesh across the opening, tension it so there is no slack, and secure every edge so there is no gap a cat can slip through. The cat can sit, climb, lean and nap against it, and nothing gives.
Two things make that work. The first is mesh size. This net has a 3cm x 3cm grid, which is small enough that a cat cannot push its head through. Head width is the limiting factor for a cat squeezing into a space, so once the head will not fit, the body will not follow.
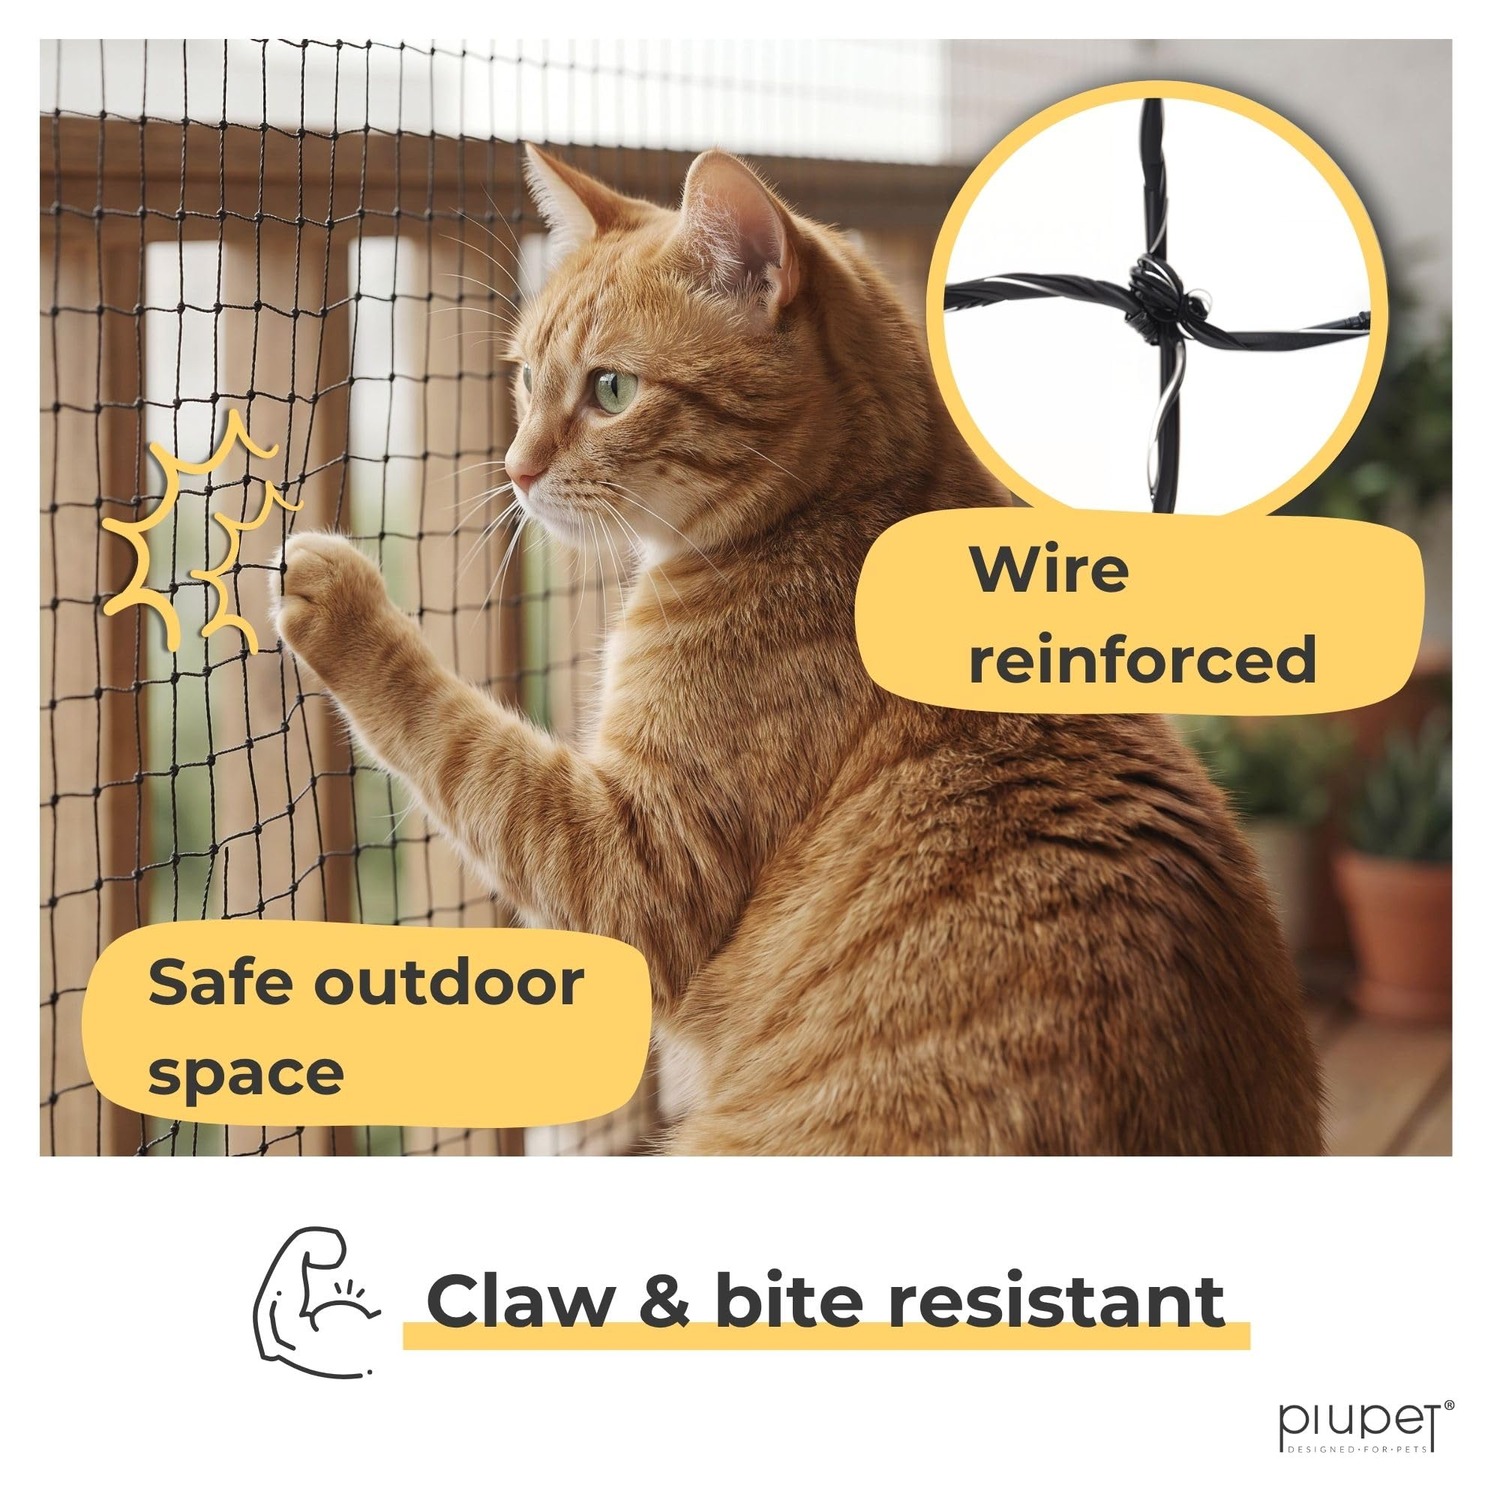
The second is what the mesh is made of. This is polyethylene netting with woven wire running through the strands. Plain plastic netting handles weather fine, but it does not handle teeth. A bored cat working at a corner can open plastic mesh over a few weeks. Wire reinforced cat netting resists that, because the cat is biting metal inside plastic rather than plastic alone.
The black colour is a deliberate choice too. Dark thin lines fade from view at distance because your eye focuses past them, while white or light green mesh catches the light and reads as a screen. Once a cat net black in colour is up and tensioned, most people stop noticing it within a week.
Who it suits
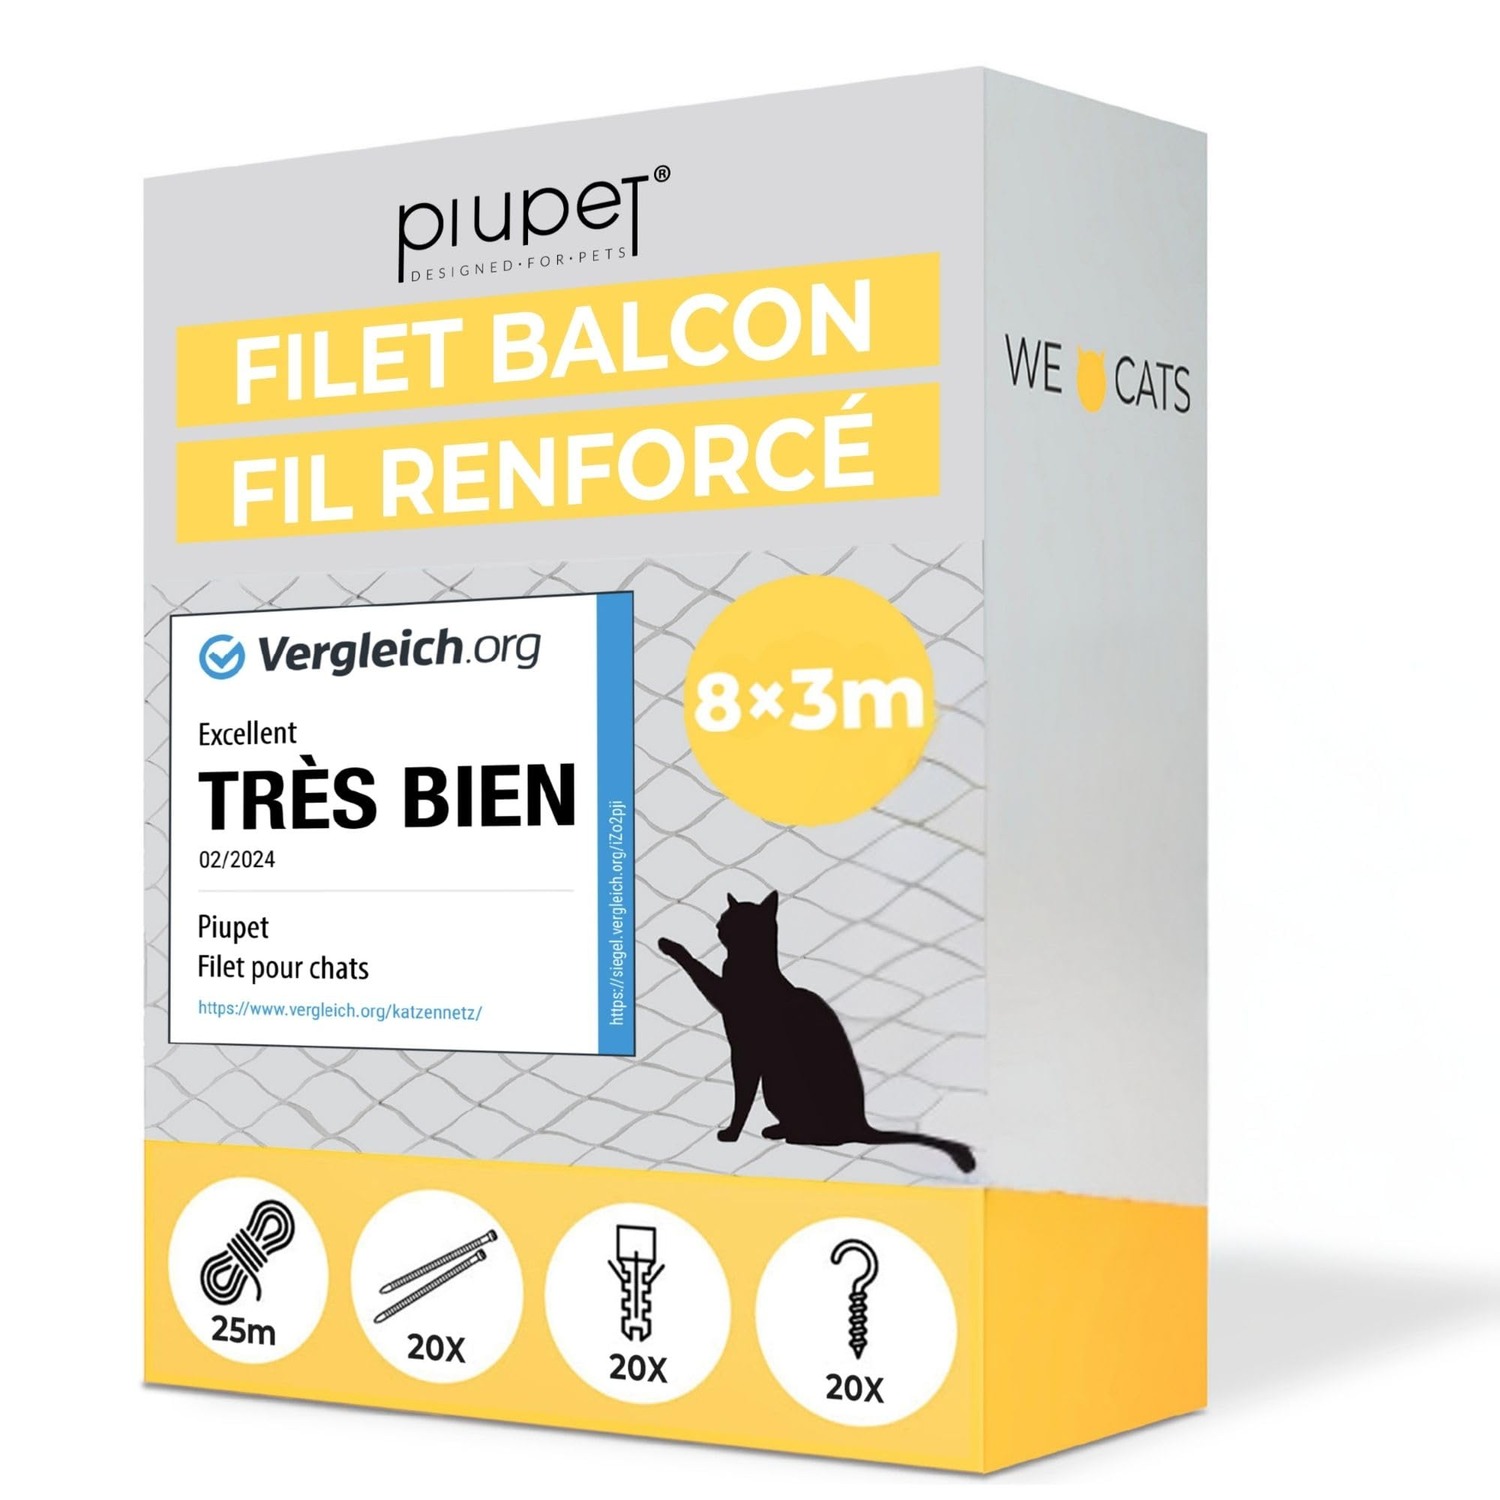
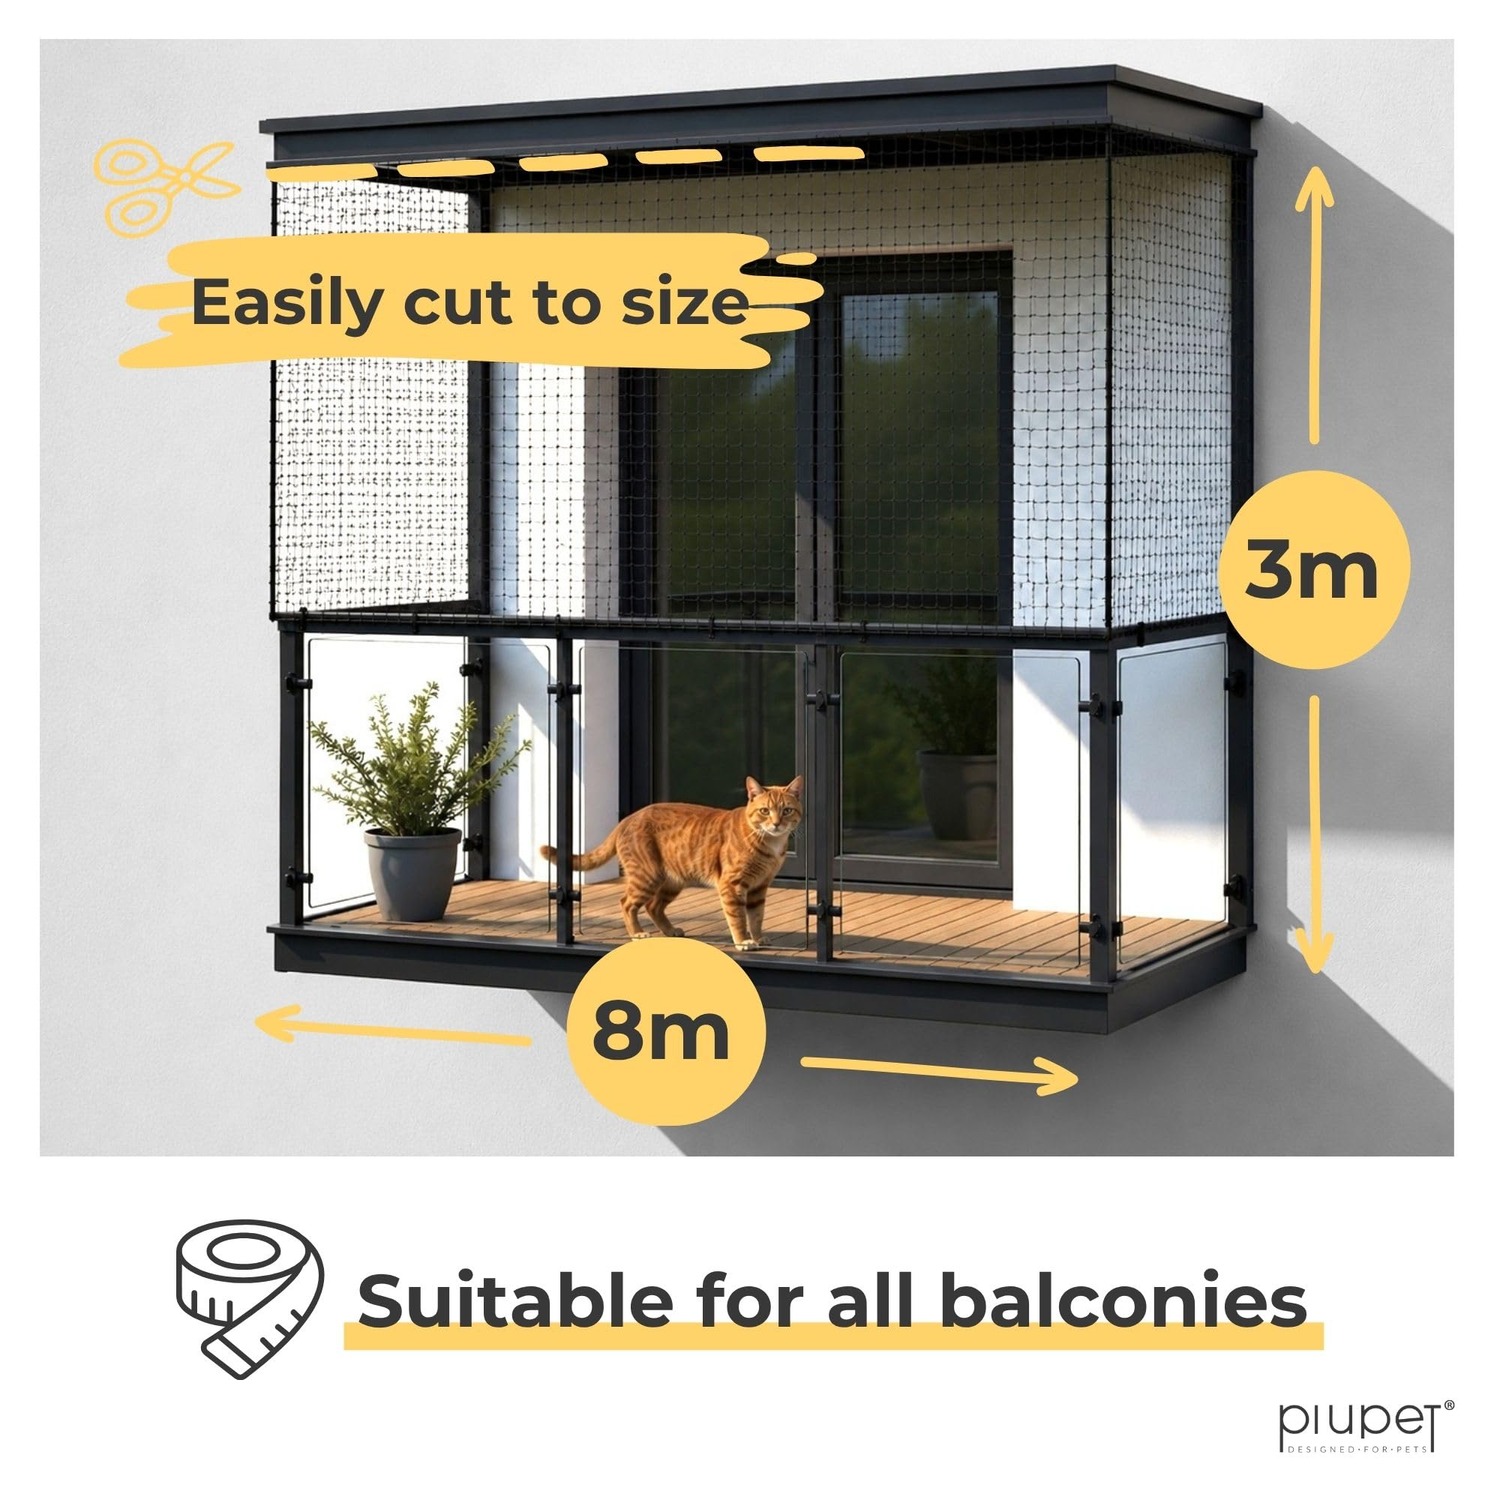
Apartment owners with a balcony are the obvious group. You get an 8 metre by 3 metre sheet, which is far more than a standard balcony needs, so there is room to cut and shape around railings, posts and the odd awkward corner.
Anyone with tilt-and-turn windows should think about this seriously. The angled gap at the top of a tilted window is one of the more dangerous things in a flat for a cat, because a cat that tries to get through can slide down and get stuck. A window cat net across the outside of the frame removes that risk entirely.
It also suits people building their own enclosure. Cat netting diy catio projects usually need a mesh skin over a timber or pipe frame, and this sheet gives you enough material for a small to medium build with offcuts to spare. Cable tie it to the frame and double up your fixings at the corners.
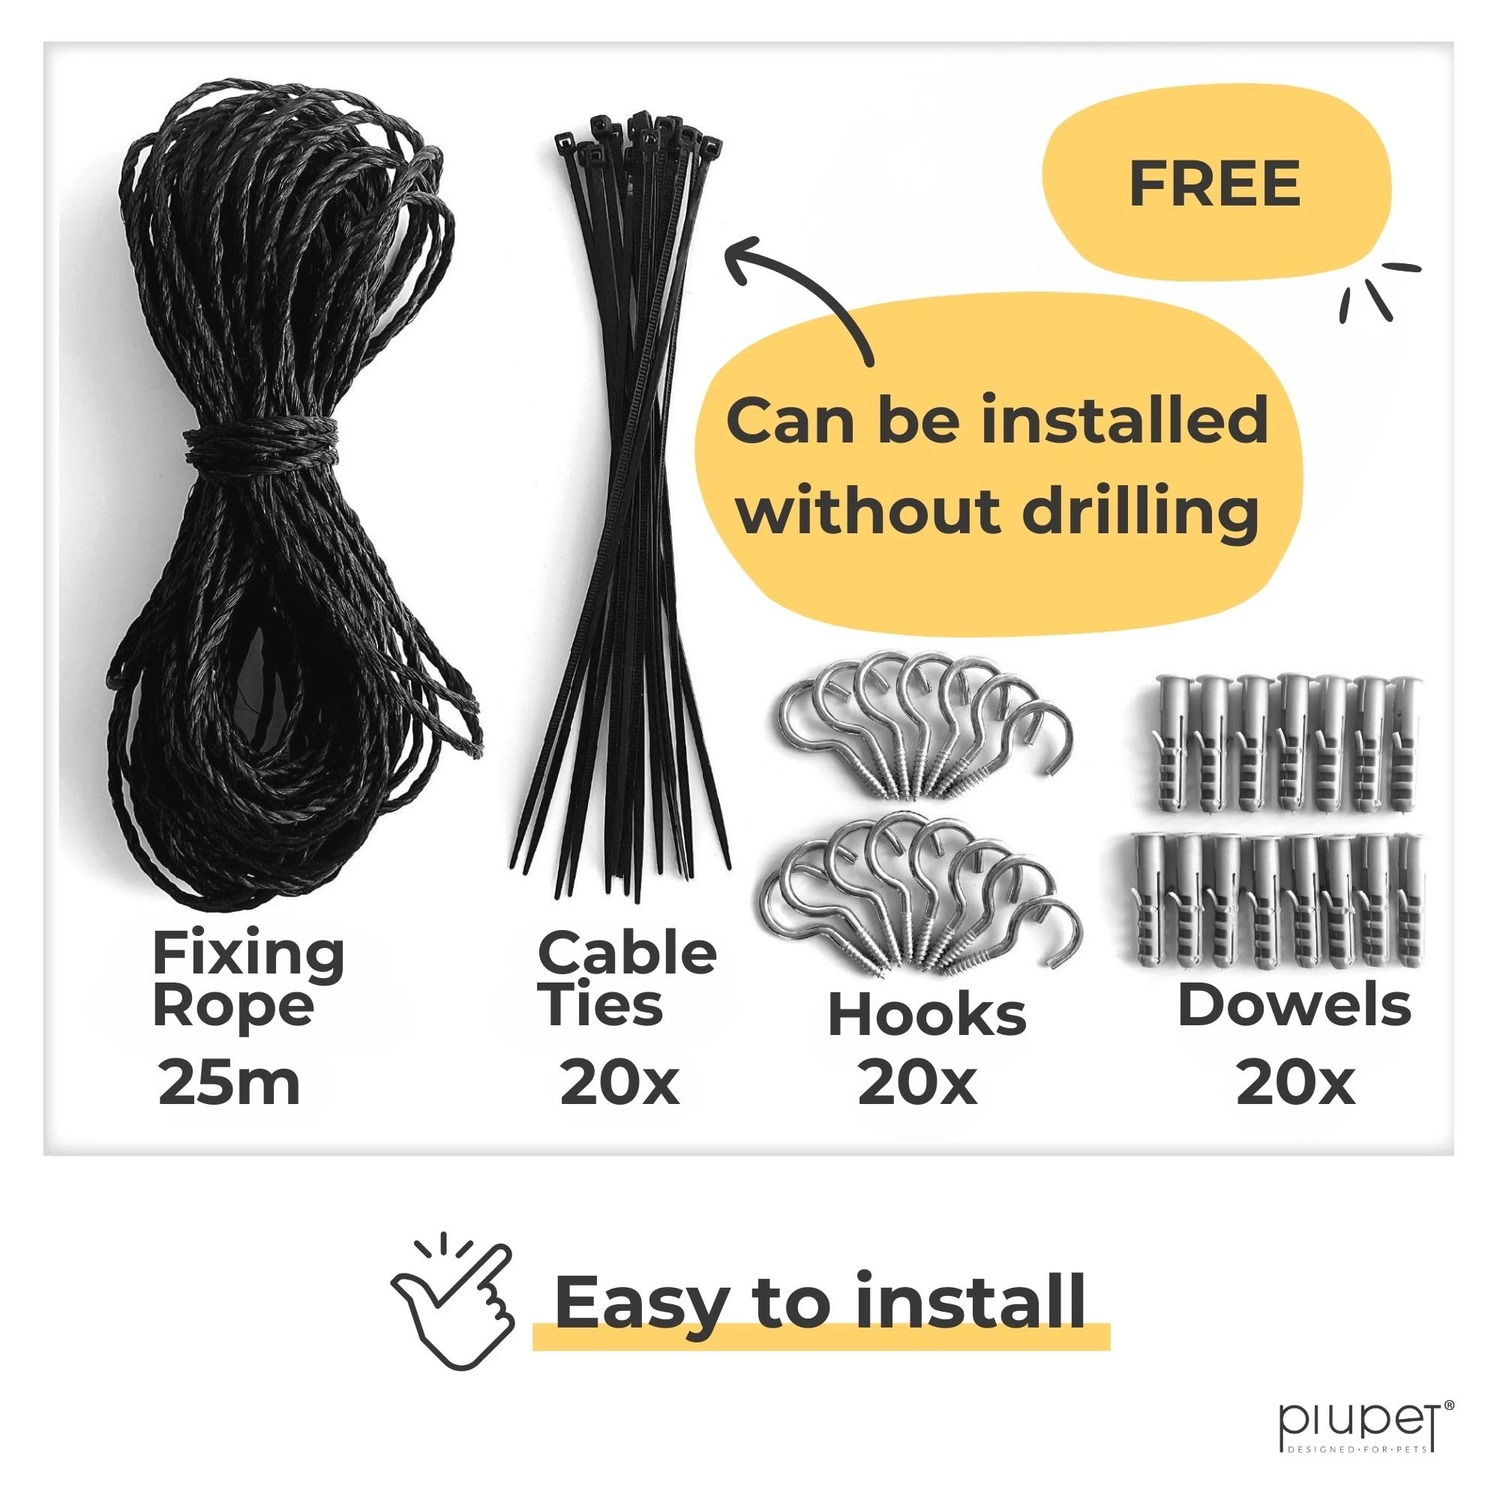
Renters are well served here, as long as you skip the dowels. Thread the fixing rope around the railing, tension it, and secure with cable ties. Nothing gets drilled and the whole lot comes down in minutes.
How to choose
Measure first, and measure the whole opening, not just the part you think a cat would use. Cats find the gap you did not consider. Include the space under a railing, the corner where the rail meets the wall, and any gap beside a post.
Then think about how you will fix it. If you own the place and have masonry to work with, the 20 hooks and 20 dowels in the box give you a solid permanent mount. If you rent, or your balcony is glass and steel, the 25 metres of fixing rope and 15 cable ties are your route. Most installs use some mix of both.
Consider coverage. One 8m x 3m sheet handles a typical single balcony comfortably. A wrap-around terrace or a very tall opening may need two. If you are close to the limit, order with a margin, because running short halfway through an install is a miserable afternoon.
Finally, be honest about your cat. A calm senior cat and a two-year-old who climbs curtains are different propositions. The more determined the cat, the more care you want to take with tension and edge fixing, which is where almost every failure happens.
Fitting it well
Start at the top. Thread the fixing rope through the mesh along the top edge, then tension that line first and secure it at both ends. Getting the top straight and tight makes everything below it easier.
Work down the sides next, pulling the mesh taut as you go and fixing at regular intervals rather than just at corners. Gaps open up where fixings are spaced too far apart. Every 20 to 30 centimetres along an edge is a reasonable rule.
The bottom edge is where people get lazy and where cats get out. Secure it properly, and if there is any gap between the mesh and the floor or railing base, close it. Some owners fold the bottom edge back on itself for a double layer in that zone.
Cut with sharp scissors or snips, and leave a little extra material at every edge so you have something to fold or thread. Trimming flush to the opening leaves nothing to work with.
Two people make this much easier than one. One person holds tension while the other fixes. If you are on your own, use cable ties as temporary clamps to hold the mesh in position while you work along the edge.
Looking after it
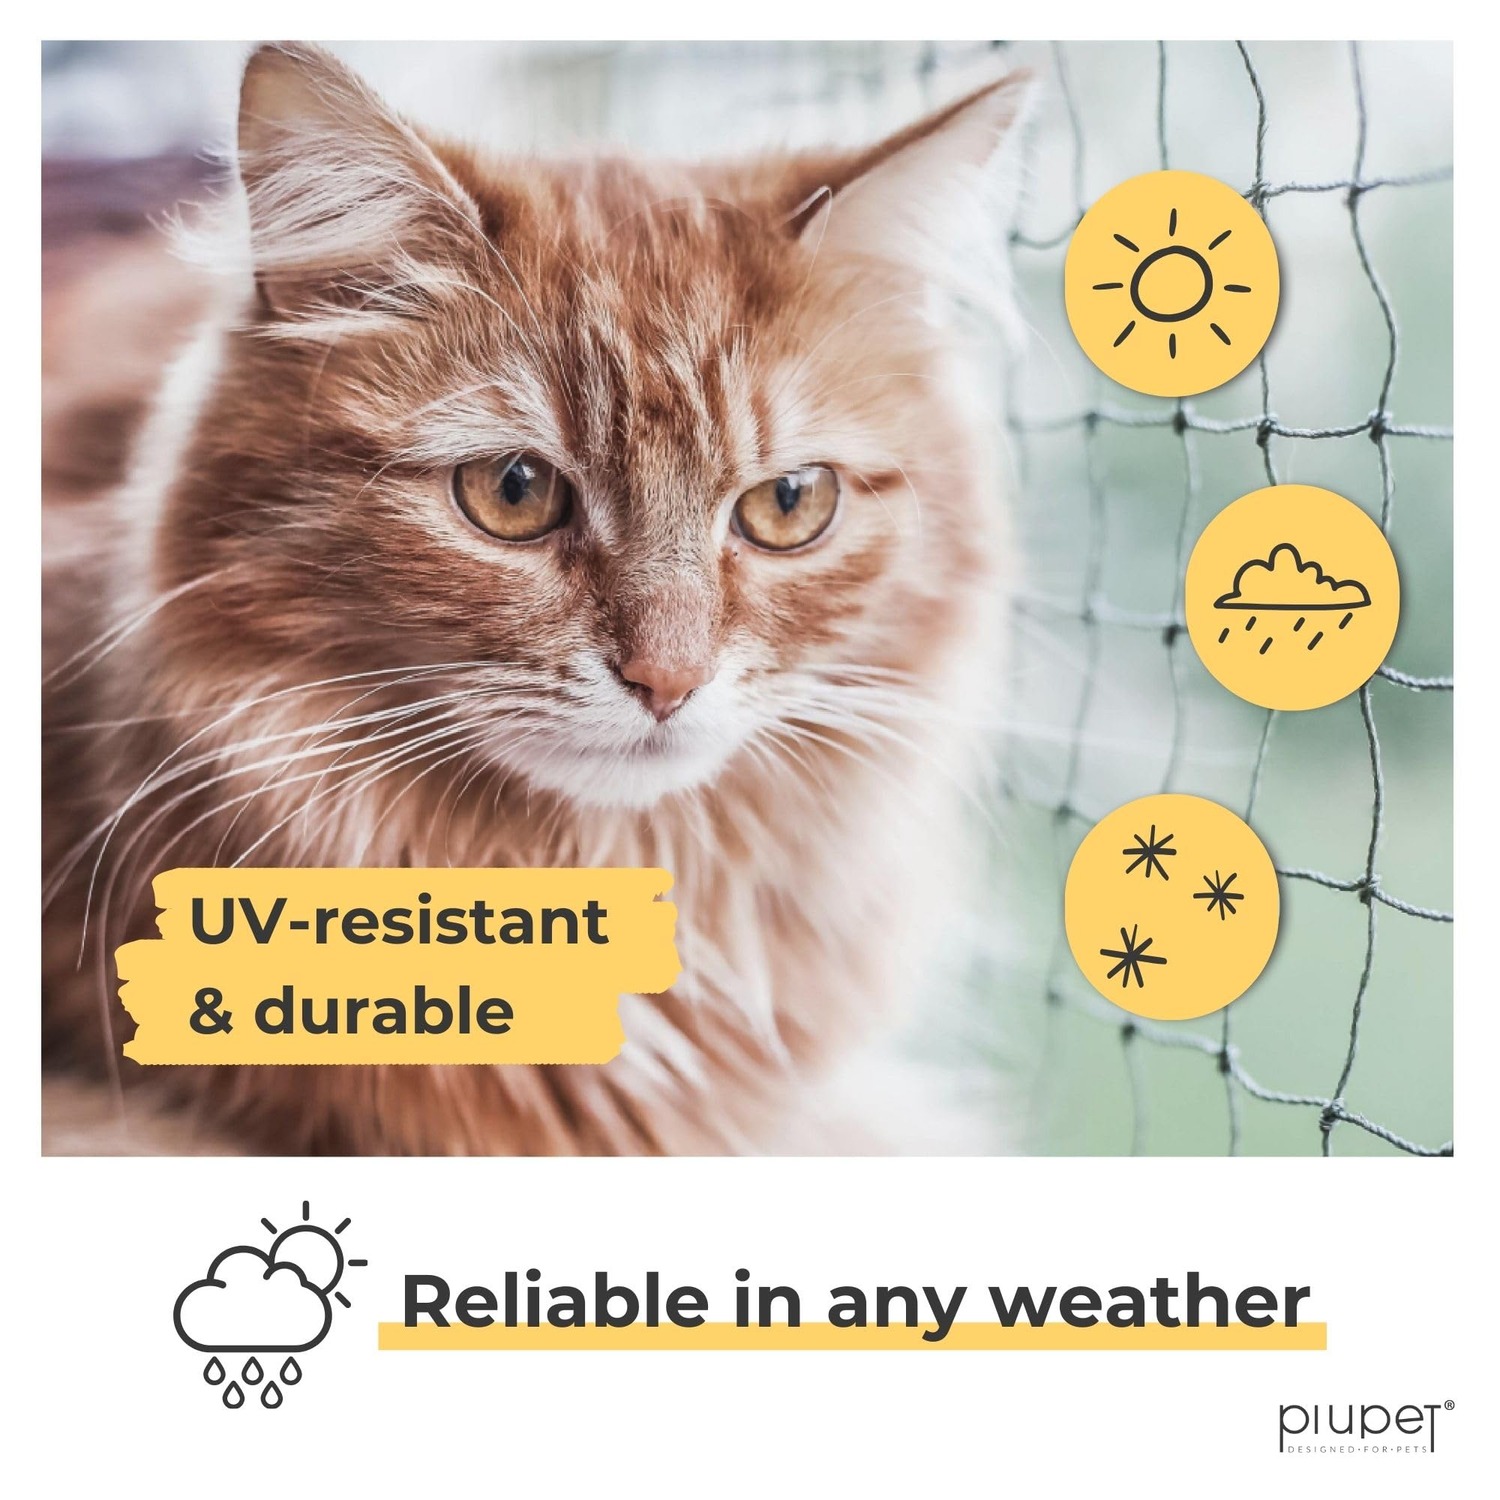
Maintenance is light. Dust, pollen and city grime build up over a season, and a damp cloth with mild soapy water takes it off. Let it dry in place rather than taking it down. Avoid solvents, bleach and pressure washers, all of which can weaken plastic mesh.
Check the fixings a couple of times a year. Rope can stretch slightly and cable ties exposed to hard sun can become brittle after a few years. Both are cheap to replace, and a five minute check beats a surprise.
Look at the corners and the bottom edge while you are at it. That is where a cat tests and where wear shows first. If anything has loosened, retension it before it becomes a gap.
If you need to take the net down, cut the cable ties, unthread the rope, and fold the mesh loosely once it is fully dry. Hard creases stress the wire inside the strands, so a loose fold beats a tight one.
The short version
An 8m x 3m sheet of black polyethylene mesh with wire running through it, a 3cm grid, and a fastening set in the box. That is the product. It turns a balcony, a terrace or a tilt window into a space your cat can use without you hovering.
Measure the whole opening before you cut. Tension the top edge first. Fix the bottom edge properly, because that is where every problem starts. Check it twice a year and otherwise leave it alone.
For most apartment cats, this is the single change that moves them from looking at the outside world to actually sitting in it.